Amigurumi is crochet worked into three-dimensional shapes, usually with single crochet stitches in continuous rounds. For a first toy, the main goals are simple: make a fabric dense enough to contain the stuffing, keep an accurate stitch count, and add the filling before the opening becomes too small.
This guide uses US crochet terms and includes a complete pattern for a small round creature. It can be made in one color with embroidered features, so there are no complicated color changes or plastic eyes to manage.
Materials for a first amigurumi toy
| Item | Beginner-friendly choice | Why it helps |
|---|---|---|
| Yarn | Smooth, light-colored worsted or aran yarn, commonly labeled medium or #4 | Clearly defined stitches are easier to see and count. Check the yarn label for fiber content and care instructions. |
| Hook | A 3 to 3.5 mm hook is a reasonable starting range for many medium-weight yarns | The correct size depends on the yarn and your tension. Choose a hook that creates dense fabric without making the stitches painfully tight. |
| Stuffing | Fiberfill compatible with the intended care method | Small, separated tufts are easier to distribute evenly than large clumps. |
| Face details | Smooth yarn or embroidery floss in a contrasting color | Embroidered eyes avoid the detachable plastic parts used in many amigurumi designs. |
| Tools | Removable stitch marker, tapestry needle, scissors and optional row counter | The marker identifies the first stitch of each spiral round; the tapestry needle is used for closing and assembly. |
Fuzzy, eyelash and plush chenille yarns can hide stitch tops and make mistakes difficult to find. They are better saved for a later project. Very dark yarn can present the same problem unless the work area is brightly lit.
Check the fabric before continuing
After crocheting the first five rounds of the pattern below, place a small tuft of filling behind the fabric and gently flex it. If the filling is plainly visible through the stitches, try a slightly smaller hook. If it is difficult to insert the hook or your hands are straining, use a slightly larger hook or relax your tension. Amigurumi fabric should be firm, but it does not need to be rigid.
Four techniques used in the pattern
Magic ring
Make an adjustable yarn loop, insert the hook into the loop and pull up a working loop. Chain 1 to secure it, then work the required single crochet stitches around the adjustable loop. Pull the yarn tail to close the center. The chain does not count as a stitch in this pattern.
If the adjustable ring is uncomfortable, chain 2 and work the first-round stitches into the second chain from the hook. This may leave a slightly more visible center. Whichever method you use, weave the starting tail securely into the finished fabric rather than relying only on the ring being pulled closed.
Single crochet
Insert the hook under both top loops of the next stitch. Yarn over and pull up a loop, yarn over again, and pull through both loops on the hook.
Increase and invisible decrease
- Increase: Work 2 single crochet stitches into the same stitch. Each increase adds one stitch.
- Invisible decrease: Insert the hook under the front loop of each of the next 2 stitches. Yarn over and pull through the first 2 loops, then yarn over and pull through the remaining 2 loops. Each decrease removes one stitch.
An invisible decrease leaves less of a gap than a standard single crochet two together, especially on the outside of a stuffed piece.
Continuous rounds
Do not join rounds unless a pattern specifically instructs you to do so. Place a marker in the first stitch of the round and move it up each time that stitch is completed. The working loop on the hook and the initial chain are not counted as stitches.
Count the stitches before beginning the next round. If the count is wrong on a shaping round, undo the work to the mistake and correct it. Adding an unplanned increase or decrease elsewhere may restore the total, but it can leave the shaping uneven.
First project: a simple round amigurumi creature
The finished size will vary with the yarn, hook and tension. Gauge is not essential for this project, but the fabric must be dense enough to hold the filling.
Abbreviations
- sc: single crochet
- inc: 2 sc in the same stitch
- inv dec: invisible decrease
- st or sts: stitch or stitches
Instructions in brackets are repeated the stated number of times. The number at the end of each row is the stitch count for that round.
Crochet the body
| Round | Instructions | Stitch count |
|---|---|---|
| 1 | Make a magic ring and work 6 sc into it | 6 |
| 2 | Inc in each st around | 12 |
| 3 | [1 sc, inc] 6 times | 18 |
| 4 | [2 sc, inc] 6 times | 24 |
| 5 | [3 sc, inc] 6 times | 30 |
| 6–10 | Sc in each st around | 30 |
| 11 | [3 sc, inv dec] 6 times | 24 |
| 12 | [2 sc, inv dec] 6 times | 18 |
| 13 | [1 sc, inv dec] 6 times | 12 |
| 14 | Inv dec 6 times | 6 |
Pause after Round 10 to add the face. At this stage the opening is still wide enough to reach the back of the embroidery.
As the piece begins to cup, the side with clear V-shaped stitches is normally used as the outside. The side with more visible horizontal bars faces the stuffing. If the piece has curled the other way, gently turn it before the opening becomes narrow.
Embroider the face
- Use removable yarn scraps or stitch markers to preview the eye positions. Placing them around Rounds 7 or 8 and several stitches apart is a practical starting point, but adjust the spacing until the expression looks balanced.
- Thread a tapestry needle with contrasting yarn or embroidery floss. Make several short stitches for each eye, keeping the tension firm enough to lie flat without puckering the body.
- Add a short horizontal or V-shaped mouth if desired.
- Bring all ends to the inside. Secure and weave them through nearby stitches in more than one direction before trimming.
Turn the face toward you after each pass. It is easier to correct placement before the ends have been secured and the body has been stuffed.
Add the stuffing gradually
After Round 12, begin adding small tufts of filling. Place the first tufts around the outer wall, then fill the center. Add more after Round 13, using the blunt end of the hook or a stuffing tool to reach the sides.
The toy should hold its shape without feeling stretched. If the stitches open and the filling becomes visible, remove some stuffing rather than forcing more through the opening.
Close the opening
After Round 14, cut the yarn with a generous tail and fasten off. Thread the tail onto a tapestry needle, pass it through the front loop of each of the remaining 6 stitches, and pull gradually to close the opening. Pass the needle through the closed center and out through the side of the body, then weave the tail through dense stitches in several directions before trimming it.
Optional crocheted ears
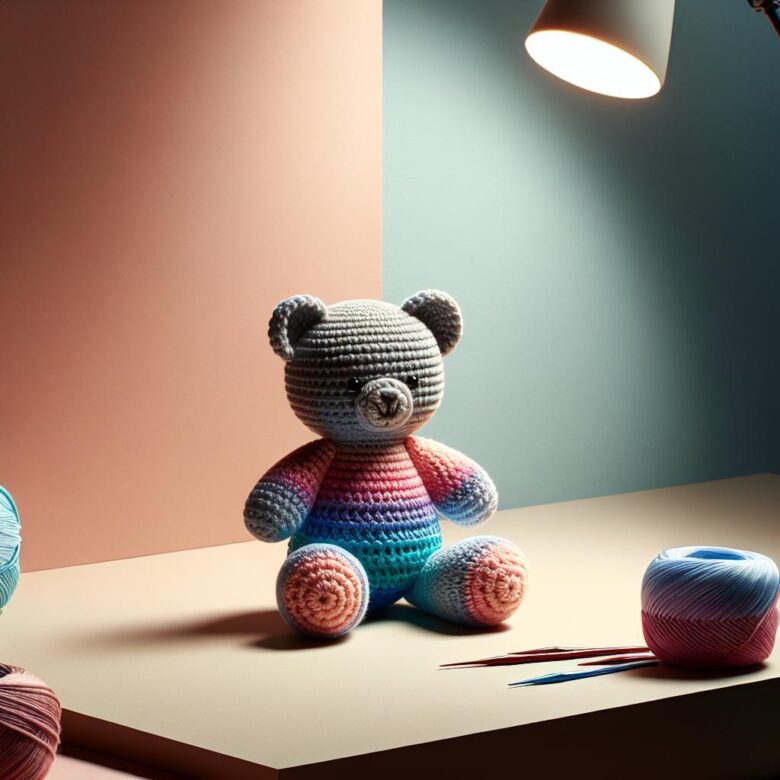
The round body is complete on its own, but two simple ears can make it look more like a bear or imaginary creature.
Make 2:
- Round 1: Make a magic ring and work 6 sc into it. 6 sts
- Round 2: Inc in each st around. 12 sts
- Round 3: Sc in each st around. 12 sts
Fasten off with a long sewing tail. Do not stuff the ears. Flatten each one, pin or clip them in matching positions near the top of the body, and examine the toy from the front, side and back.
Use the yarn tail to whip stitch the flattened base of each ear to the body. Take small, evenly spaced stitches into the body fabric without pulling so tightly that the head puckers. Secure and weave the tails into the body, and remove every pin or marker when assembly is complete.
Finishing skills for future projects
Joining separate parts
Before sewing an arm, leg, muzzle or ear, pin the part in place and compare both sides. Count body stitches from a fixed point, such as the round marker or center of the face, when matching a pair of parts. Sew a few stitches, check the alignment again, and continue only when the position remains correct.
Changing colors
For a standard color change, begin the final single crochet with the old color. On its last yarn-over, pull the new color through the 2 loops on the hook. The next stitch is worked entirely in the new color.
Color changes in continuous rounds naturally create a small step where the colors meet. For a first toy, using one color or placing the transition at the back keeps the project straightforward.
Troubleshooting common amigurumi problems
| Problem | Likely cause | What to do |
|---|---|---|
| Stuffing shows between stitches | The hook is too large for the yarn, the tension is loose, or the body is overstuffed | Try a slightly smaller hook on the next attempt, use invisible decreases and remove excess filling. |
| The starting disk ruffles | There are too many stitches or increases | Recount each round and confirm that every increase was worked only where instructed. |
| The piece cups too early | An increase was missed, or the tension is unusually tight | Check the stitch total. If the count is correct but the fabric is rigid, try a slightly larger hook. |
| The body looks lumpy | Large clumps of filling were added at once | Remove the filling and separate it into smaller tufts. Refill the outer edges first and rotate the piece as you work. |
| The body looks faceted | Increase or decrease points are stacked in the same positions | Slight facets often soften after stuffing. On later projects, stagger the positions while keeping the required number of increases or decreases evenly distributed. |
| The shape leans | The stitch count is wrong or shaping stitches are unevenly distributed | Check the last correct round and redo the affected section. A diagonal round boundary is normal in continuous crochet. |
| The magic ring opens | The center was not pulled closed or the tail was not woven securely | Use a needle to snug the center and weave the tail through nearby stitches in multiple directions. |
Safety considerations for handmade stuffed toys
Craft instructions describe how to construct an item; they do not establish that a finished toy complies with any product-safety law or standard. Suitability depends on the materials, construction, intended user and requirements where the item will be used, given away or sold.
For a toy intended for a baby or young child, use especially conservative construction choices:
- Embroider facial features instead of using plastic eyes, buttons, beads or other detachable decorations. Products sold as safety eyes are still separate plastic components and the name does not guarantee suitability for every child or use.
- Avoid magnets, wire, bells, long cords, ribbons and loose loops.
- Secure and weave every yarn end rather than simply trimming it close to a knot.
- Choose yarn and filling with manufacturer information appropriate to the intended use and care method.
- Inspect the toy regularly. Remove it from use if a seam opens, yarn breaks, filling escapes or any feature becomes loose.
- Keep stuffed toys and other soft objects out of an infant sleep space, and follow current safe-sleep guidance from the relevant health authority where you live.
If the item will be sold or distributed, the maker is responsible for determining and following the applicable labeling, testing and product-safety requirements.
A quick checklist before the next project
- Record the yarn, hook size and any changes made to the pattern.
- Use a marker in the first stitch of every continuous round.
- Confirm the stitch count before moving to the next round.
- Check fabric density before adding stuffing.
- Embroider or attach details while the back of the work is still accessible.
- Stuff with small tufts and stop before the fabric stretches.
- Inspect all seams, features and woven ends before the toy is used or given away.

The Cozy Stitch Editorial Team creates practical crochet guides for beginners and everyday makers. Our content covers stitches, yarn and hook selection, pattern reading, troubleshooting, amigurumi, handmade gifts, and functional projects for the home. Guides are reviewed for clarity, usefulness, and accuracy and may be updated when improvements are needed.