Most first crochet projects fail because the hook snags, the yarn splits, and beginners blame their hands. I’ve watched this happen in workshops and in my own early projects-cheap hooks and the wrong fiber can turn a “30‑minute swatch” into hours of frustration, wasted skeins, and a half-finished scarf you never touch again.
What helped me improve faster in the beginning
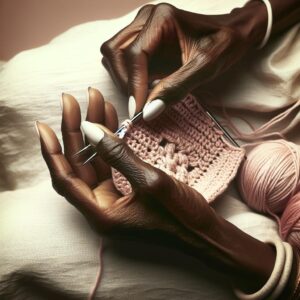
When I first started learning crochet, I noticed that my results changed much more when I adjusted my materials than when I kept forcing the same technique with tools that did not feel right. In practice, a smooth hook and a simple yarn made it easier to see each stitch, fix mistakes, and keep going without turning every small project into a tiring experience. I do not think there is one perfect setup for everyone, but I do believe that beginners usually learn faster when they choose supplies that are easy to control instead of trying to “adapt” to whatever is cheapest or hardest to use.
One thing I would honestly recommend is to start with just one hook and one light-colored yarn, then make a small test swatch before beginning a real project. That simple step helps you feel whether the stitches are too tight, too loose, or uncomfortable in your hand. In my experience, this saves time, avoids frustration, and makes it much easier to understand whether the problem is your tension or just a poor combination of hook and yarn.
I’ve found that beginners improve more consistently when they stop judging their skill too early and start paying attention to how their tools affect comfort, rhythm, and stitch visibility.
Tools matter more at the start than skill. A smooth, correctly sized hook and a beginner-friendly yarn make stitches readable, tension easier, and progress faster.
Below, I’ll pinpoint the best hook materials and starter sizes, the yarn fibers and weights that behave well, and the exact pairings that give your first project clean stitches without fighting your supplies.
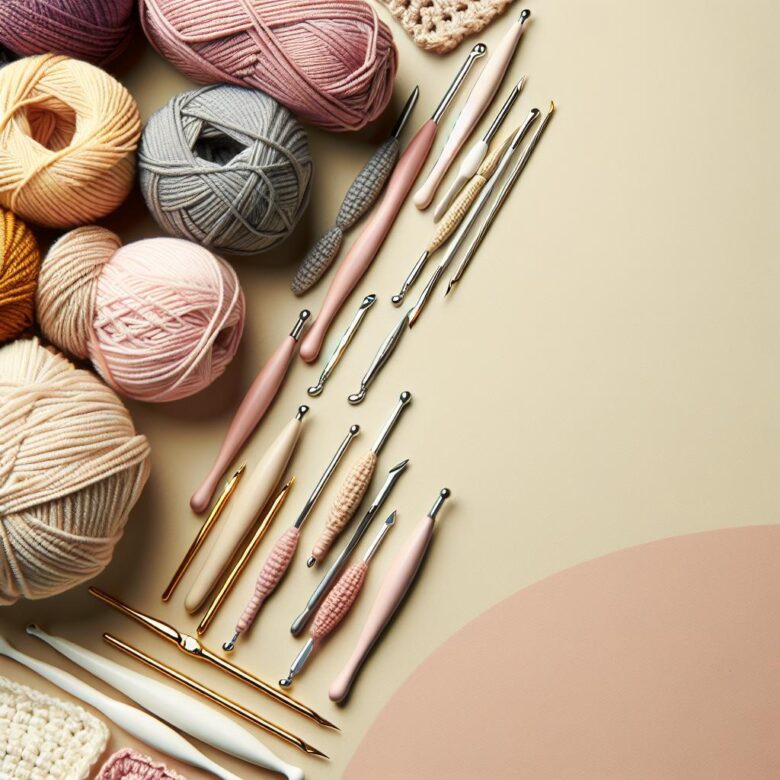
Choosing Your First Crochet Hook: Ergonomic Handles vs. Inline vs. Tapered Tips-Plus the Best Sizes to Prevent Hand Fatigue
Most beginner hand fatigue comes from death-gripping a hook that’s too small for the yarn; even a 0.5-1.0 mm jump in hook size can noticeably reduce pinch force on the thumb-index web space. A frequent mistake is buying a “comfortable” handle but pairing it with an inline/tapered tip that fights your stitch style, forcing extra wrist deviation.
- Ergonomic handles: Best for long sessions or tight tension; choose a larger, slightly oval grip to keep the hook neutral in the hand and reduce finger flexor load. Watch consistency by logging stitch gauge in Stitch Fiddle after 20-30 minutes-handle comfort can mask creeping tightness.
- Inline tips: Deeper throat and squared head help maintain uniform loops (great for cotton and split-prone yarns), but they can snag if your tension is very tight; start with 5.0 mm (H/8) for worsted to avoid “stitch wrestling.”
- Tapered tips: Easier insertion and faster rhythm for many beginners, but can widen loops if you over-rotate the wrist; pair with 5.0-5.5 mm (H/8-I/9) for worsted, 4.0-4.5 mm (G/6-7) for DK, and upsize one step if your forearm burns.
Field Note: After switching a client from a 4.0 mm tapered hook to a 5.5 mm ergonomic inline for worsted acrylic, their “tingly thumb” disappeared within two practice swatches because the larger diameter stopped the micro-clenching that was driving fatigue.
Beginner-Friendly Yarn Types Explained: Worsted Weight, Acrylic vs. Cotton, and Smooth Plies That Make Stitches Easier to See
Most “first-project” failures aren’t hook-related-they’re visibility problems: fuzzy halos and splitty yarn hide loop anatomy, making it hard to keep consistent tension. For beginners, worsted weight (#4) with smooth, tightly spun plies shows stitch structure clearly and resists accidental splitting.
| Yarn choice | Why it’s beginner-friendly | What to watch for |
|---|---|---|
| Worsted weight (#4), smooth plies | Stable gauge, easy-to-read “V” stitches, pairs well with 5.0-6.0 mm hooks | Avoid novelty textures; choose 4-6 plies or a firm twist to reduce splitting |
| Acrylic | Slides predictably on aluminum hooks, affordable for practice, forgiving to frog and redo | Can squeak on some plastics; heat can damage during aggressive blocking |
| Cotton | Sharp stitch definition, great for dishcloths and bags, minimal fuzz | Less elastic, shows uneven tension; can feel “grabby” and fatigue hands faster |
Field Note: After color-coding a client’s swatches in Stitch Fiddle and switching from a hairy acrylic to a smooth, light-colored worsted, their stitch counting errors dropped immediately because each loop edge became visibly distinct.
Hook-and-Yarn Pairing Cheat Sheet: Match Gauge, Fiber Stretch, and Stitch Definition to Avoid Splitting, Snagging, and Uneven Tension
Most first-project tension problems aren’t “beginner hands”-they’re a hook-yarn mismatch that amplifies splitting, snagging, and gauge drift (often >10%) within the first 20 stitches. The most common mistake is pairing a sharp, inline hook with low-twist singles or using a sticky fiber on a grippy hook surface.
| Yarn Type / Behavior | Best Hook Profile + Finish | Why It Works (Gauge + Definition) |
|---|---|---|
| Smooth acrylic or cotton (low stretch, clear plies) | Tapered aluminum (e.g., matte anodized) | Predictable loop formation; crisp stitch definition; less “hook drag” so gauge stays stable. |
| Wool or wool-blend (elastic, can rebound) | Inline or mildly pointed tip; avoid ultra-grippy bamboo | Controls loop size during rebound; reduces uneven tension from over-tightening. |
| Chenille/velvet or loosely spun novelty (high snag/split risk) | Rounded tip + polished surface | Slides under fuzz without catching; minimizes split stitches and laddering. |
Pro Tip: I log hook size, yarn lot, and 4″ swatch counts in Stash2Go, and it immediately exposed that a “recommended 5.0 mm” needed 5.5 mm on a tapered metal hook to stop edge rippling on a cotton dishcloth.
Q&A
FAQ 1: What crochet hook material is best for a complete beginner-aluminum, bamboo, or plastic?
Answer: Start with aluminum for the most consistent glide and stitch control, which helps you learn tension faster. Choose bamboo/wood if your yarn keeps slipping off the hook (it adds friction), but expect slightly slower stitching. Plastic is fine for very large hooks, but cheaper plastic hooks can snag yarn or flex, making learning harder.
- Best all-around beginner choice: Aluminum, size H/8 (5.0 mm)
- If stitches slide off too easily: Bamboo/wood in the same size
- Ergonomic upgrade: Soft-grip handle if hand fatigue develops
FAQ 2: What hook size should I buy for my first project?
Answer: Buy a 5.0 mm (H/8) hook for your first project. It pairs well with common beginner yarn sizes, produces stitches large enough to see clearly, and is versatile for practice swatches, scarves, simple hats, and dishcloths (with the right yarn).
|
Beginner Goal |
Recommended Hook Size |
Why |
|---|---|---|
|
General learning + first scarf/hat |
5.0 mm (H/8) |
Easy stitch visibility, widely compatible with common yarn |
|
Very bulky, fast practice |
8.0-10.0 mm (L/N) |
Large stitches work up quickly, easier to see |
|
Amigurumi (stuffed toys) |
2.75-4.0 mm (C-G) |
Tighter fabric to prevent stuffing gaps |
FAQ 3: What yarn type should I choose to make learning easiest, and what should I avoid?
Answer: Choose a smooth, light-colored, medium-weight yarn labeled Worsted/Aran (#4), ideally 100% acrylic or a cotton-acrylic blend. This combination makes stitches easy to see and reduces splitting. Avoid novelty textures and very dark colors until you can identify stitches reliably.
- Best beginner yarn: Worsted/Aran (#4), smooth plied yarn, light color (cream, light gray, pastel)
- Good fiber choices: Acrylic (easy care), cotton-acrylic blend (balanced), cotton (great for dishcloths but less stretchy)
- Avoid at first: Eyelash/chenille, boucle, highly fuzzy yarn, very loosely spun singles, and pure black/navy (hard to see stitches)
Key Takeaways & Next Steps
The biggest beginner setback I still see is mismatching hook size to yarn weight, then “fixing” it by pulling tighter. That habit makes stitches uneven, causes hand fatigue, and throws off gauge before you even notice.
Pro Tip: If you only do one thing, match your hook and yarn by the label, then crochet 20 stitches and check if the fabric feels flexible-not stiff or holey-before you commit to the project.
Do this right now after closing this tab:
- Open your phone notes and write: “My first combo: yarn weight + recommended hook size + fiber.”
- Buy exactly one skein and one hook, then make (and keep) a small swatch as your reference for every future project.

For me, Root & Bloom is where every stitch tells a story. I started crocheting as a way to slow down, and it quickly turned into a passion for creating modern heirlooms. Whether you’re picking up a hook for the first time or looking for your next complex project, I’m here to help you weave a little more handmade magic into your life.