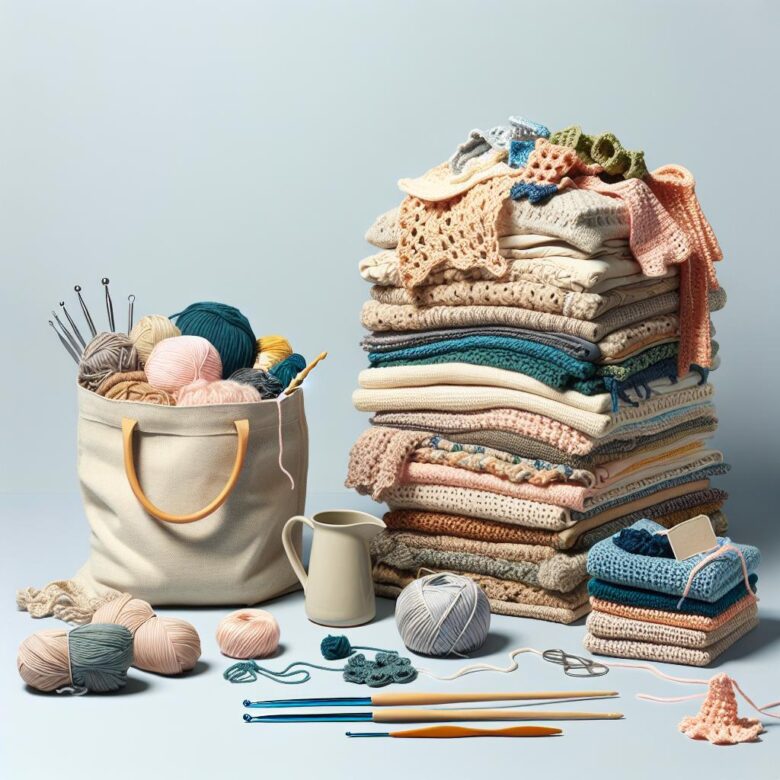
Old T-shirts, sheets, and other textiles can become useful crochet material when the fabric is no longer suitable for its original purpose. The key is to match the textile to an appropriate project rather than treating every cut strip like ordinary yarn.
Fabric yarn—sometimes called “tarn” when made from T-shirts—is bulky, irregular, and often harder on the hands than spun yarn. Careful preparation helps prevent weak joins, uneven stitches, excessive stretching, and projects that are difficult to wash.
Choose Textiles That Are Worth Upcycling
Before cutting a garment, consider whether it could still be repaired, altered, or passed on for reuse. Crochet upcycling is most appropriate for textiles with stains, holes, or damaged sections that prevent continued use but still leave plenty of sound fabric.
Inspect each item before adding it to the cutting pile:
- Check the fabric condition: Pull firmly on a sample area. Fabric that tears easily, sheds heavily, or feels brittle is unlikely to survive the repeated tension of crochet.
- Read the fiber label: Cotton and cotton-rich fabrics are generally easy to handle. High-elastane knits can produce unstable stitches, while unknown synthetic fabrics should be kept away from heat and flame.
- Look for usable sections: Remove worn cuffs, elastic waistbands, thick hems, rivets, zippers, buttons, and bulky overlocked seams.
- Check colorfastness: Rub a hidden area with a damp white cloth. Visible dye transfer is a warning that the fabric should be washed separately or reserved for a project that will not contact pale surfaces.
- Reject contaminated material: Do not use textiles with mold, pest damage, persistent chemical odors, or contamination that ordinary laundering cannot remove.
Pre-wash and dry the source textile using the method planned for the finished project. This removes finishes, reveals shrinkage or dye problems, and prevents surprises after the fabric has been cut.
Tools, Strip Widths, and Hook Sizes
Useful tools include sharp fabric scissors or a rotary cutter and cutting mat, a ruler, sewing thread, a hand-sewing needle, a blunt tapestry needle, and large crochet hooks. A rotary cutter can improve consistency, but it should always be used on a suitable mat and directed away from the body.
The following measurements are starting points, not fixed rules. Thin fabric usually needs a wider strip, while dense fabric such as denim needs a narrower one. Choose the hook after making a swatch: the loops should move without force, but the finished fabric should not be so loose that it loses its intended shape.
| Textile | Strip and hook starting point | Behavior and suitable uses |
|---|---|---|
| Light cotton jersey or T-shirts | Approximately 2.5–4 cm strips; 8–12 mm hook | Curls into a rounded strand when stretched. Suitable for flexible bags, soft baskets, and mats, but it may sag under weight. |
| Woven cotton sheets | Approximately 1.5–3 cm strips; 8–10 mm hook | Creates firm fabric with less stretch. Useful for baskets, storage mats, and structured panels; cut edges may fray. |
| Lightweight denim | Approximately 1–2 cm strips; 10–15 mm hook | Dense and resistant to bending. Best for firm bases, small mats, or accents rather than large projects that would become heavy. |
| Fleece | Approximately 1–2 cm strips; 10–15 mm hook | Does not usually fray, but it is bulky and often synthetic. Use for soft storage projects, never for potholders or other heat-contact items. |
If stitches require force or the fabric strip repeatedly snaps, increase the hook size, narrow the strip, or loosen the tension. If the work is floppy and the gaps are larger than intended, try a smaller hook or a wider strip.
How to Make Continuous T-Shirt Yarn
A seamless jersey shirt body produces the smoothest continuous strip. Shirts with side seams can still be used, but each seam will create a thick section in the yarn. For a project where those bumps would be distracting, separate the shirt into flat panels and make shorter strips instead.
- Cut off the hem and cut across the shirt immediately below the armholes. Set aside any sound upper sections for smaller strips or another craft.
- Lay the remaining tube flat with the folded edges at the top and bottom.
- Starting at the lower fold, cut through both layers in parallel lines at the chosen strip width. Stop each cut a short distance before the upper fold so that the top remains connected.
- Open the uncut section of the tube. Cut diagonally from the edge into the first slit, then from the first slit to the second, continuing across the connected section. This turns the parallel loops into one long spiral strip.
- Pull the strip gently in manageable sections. Most jersey will curl inward and form a more yarn-like strand. Do not overstretch weak or high-elastane fabric.
Wind the finished strip loosely. A tightly wound ball can store tension in stretchy jersey, making the first part of the project behave differently from the last.
Cutting Sheets, Woven Fabric, and Denim
Woven material does not curl like jersey. It remains a flat ribbon and may release threads from its cut edges, so it needs a different approach.
- Sheets and other lightweight woven cotton: Cut long, even strips from sound sections. Tearing can produce straight strips in some fabrics, but test first because an old or loose weave may distort or continue to fray.
- Denim: Remove waistbands, hems, pockets, rivets, and thick seams before cutting the remaining panels lengthwise. Keep the strips narrow enough to bend around the hook without excessive hand strain.
- Irregular scraps: Sort strips by thickness. Mixing a thin sheet with heavy denim in the same row produces abrupt gauge changes, even when the strips have the same width.
Do not assume that a wider strip will make a weak textile stronger. If a test strip tears when tugged, the underlying fabric is deteriorated and should not be used in a load-bearing project.
Join Fabric Yarn Without a Large Knot
Hard knots create lumps, catch on the hook, and can work toward the surface during washing. The best joining method depends on whether the textile is knitted or woven.
Slit-and-loop join for stable jersey
- Cut a short lengthwise slit near the end of each strip, leaving enough fabric beyond the slit to resist tearing.
- Pass the end of the new strip through the slit in the old strip.
- Pass the full length of the new strip through its own slit.
- Pull gently until the join lies flat. Stop if either slit begins to stretch or split.
This join works best with sound knit fabric. It is not a good choice for loosely woven sheets or weakened jersey because the slit can tear under tension.
Sewn joins for woven strips
For strips of a consistent width, place the ends at right angles with their faces together, sew diagonally across the overlap, and trim the excess fabric beyond the seam. When the strips are too irregular for a diagonal join, overlap the ends and secure them with a short line of zigzag stitching.
A hand-sewn overlap can also work when a sewing machine is unavailable. Keep the overlap flat and use several small stitches rather than relying on fabric glue as the structural connection.
Joining while crocheting
For a rustic basket or mat, overlap the old and new strips and crochet over both for several stitches. This method is simple but creates a visibly thicker section, so place joins away from corners, handles, or other areas already under stress.
Swatch Before Starting the Full Project
A swatch reveals more than gauge. It shows whether the strip twists, sheds, stretches out, feels too stiff, or becomes unpleasant to handle.
- Prepare enough fabric yarn for a small square using the intended stitch and hook.
- Measure and weigh the swatch, then record the strip width and hook size.
- Launder it using the proposed care method for the finished item.
- Let it dry completely, then measure it again and inspect the joins, edges, color, and surface.
- Stretch it in several directions. Fabric that does not recover may still work for a firm basket, but it is a poor choice for a bag handle or fitted item.
Weight is often more useful than garment count when estimating material. For a flat project, divide the target area by the swatch area and multiply that result by the swatch weight. For example, a hypothetical 10 × 10 cm swatch has an area of 100 cm². A 30 × 40 cm rectangle has an area of 1,200 cm², so it would require roughly 12 times the swatch weight when made with the same stitch, hook, and fabric yarn.
This calculation is only an estimate. Borders, shaping, seams, and changes in tension require additional material. For bags and baskets, include the area of the base, sides, and any separate panels rather than calculating only the front.
Match the Stitch and Textile to the Project
Dense stitches improve structure but can make heavy fabric yarn difficult to work. More open stitches reduce weight and hand strain, although they also allow stretchy jersey to sag.
- Single crochet: A practical choice for basket walls, bag bases, and firm mats. Use a hook large enough to insert without forcing it through the stitch.
- Half double crochet: Produces a more flexible fabric and often suits jersey bags or soft storage projects.
- Slip stitch: Creates a dense surface but can become extremely stiff in denim or thick woven strips. Use it selectively for borders or reinforcement.
- Open mesh: Reduces material use but increases stretch. If used for a bag, reinforce the opening and handles with stable fabric or salvaged cotton tape.
For a load-bearing tote, handles are more durable when they extend down the sides or around the base instead of being attached only at the top edge. A sewn lining can reduce stretching and keep small objects from pushing through the stitches.
Use caution with floor rugs. Thick crochet can slide on smooth flooring, so add a suitable nonslip underlay and keep loose rugs away from stairs and other fall-risk areas. Unknown or synthetic textiles should not be used for potholders, trivets, or projects placed near heat.
A Simple Rectangular Practice Project
A small shelf, drawer, or tray liner is a manageable first project because it does not need to support weight or fit the body. Use one type of prepared textile yarn so changes in thickness are easy to identify.
- Make a loose foundation chain until it reaches the desired width. If the chain feels rigid, remake it with a larger hook or looser tension.
- Work one single crochet in the second chain from the hook and in each chain across.
- Chain one and turn. Treat the turning chain consistently; for this version, it does not count as a stitch.
- Continue in single crochet, counting the stitches periodically so the sides remain straight.
- When the piece reaches the desired length, fasten off with a generous tail. Thread-sew the tail securely along the back of several stitches and trim only after it is secure.
- Add a border only if needed. A slip-stitch border can control a loose edge, but overly tight border stitches will pull the rectangle inward.
This same rectangle can serve as a gauge sample for a larger mat, a bag panel, or the base of a sewn storage basket.
Troubleshooting Common Problems
| Problem | Likely cause | What to change |
|---|---|---|
| Strip snaps while crocheting | Fabric is degraded, strip is too narrow, or tension is too tight | Test a wider strip, use a larger hook, and discard fabric that still tears easily. |
| Project feels hard and board-like | Hook is too small or the stitch is too dense for the material | Increase the hook size or change from slip stitch or single crochet to a more flexible stitch. |
| Rows have visible lumps | Uneven strip widths, bulky seams, or knotted joins | Trim strips more consistently, remove garment seams, and use flat sewn or slit joins. |
| Round project cups upward | Too few increases, tight tension, or a hook that is too small | Check the pattern’s increase spacing and try a larger hook before adding extra rounds. |
| Round project ripples | Too many increases or fabric that is too loose for the chosen hook | Reduce increases as appropriate and test a smaller hook. |
| Bag handle stretches | Elastic jersey or a handle attached only at the rim | Reinforce with stable tape or fabric and extend the attachment farther down the bag. |
| Hands tire quickly | Dense textile, tight grip, or excessive hook resistance | Use a larger hook, relax the working tension, choose a narrower strip, and work in shorter sessions. |
Finish and Wash Upcycled Crochet Carefully
Fabric-yarn ends are often too bulky to hide in the same way as ordinary yarn tails. Weave each tail through several stitches, then use matching sewing thread to secure it discreetly on the reverse side. Inspect sewn joins, bag handles, corners, and rims before laundering.
Use the gentlest care requirements among all the textiles in a mixed-fabric project. A small item may be washed in a mesh laundry bag on a cool, low-agitation setting if the swatch tolerated that treatment. Fragile or very heavy pieces may be better hand-washed. Reshape the project while damp and dry it flat when practical.
Avoid direct steam or high heat unless the fiber content is known and the swatch has shown that the material can tolerate it. Denim and other dense projects become substantially heavier when wet, so lift them with support rather than pulling on one edge or handle.
A Practical Upcycling Workflow
- Use repairable or wearable textiles for their original purpose when possible.
- Select sound, washable sections from items that are no longer usable.
- Pre-wash, inspect for dye transfer, and remove hardware and bulky seams.
- Cut a short test strip before processing the entire textile.
- Choose a joining method suited to knit or woven fabric.
- Crochet and launder a swatch before estimating the full project.
- Match stretch, weight, and washability to the intended use.
- Label leftover fabric yarn with its source, approximate fiber content, strip width, hook size, and care result.
Upcycled crochet is most successful when the finished object suits the limitations of the original textile. A careful test can determine whether an old shirt should become a flexible bag, a sheet should become a firm basket, or a dense pair of jeans is better used as a sturdy accent rather than an entire project.

The Cozy Stitch Editorial Team creates practical crochet guides for beginners and everyday makers. Our content covers stitches, yarn and hook selection, pattern reading, troubleshooting, amigurumi, handmade gifts, and functional projects for the home. Guides are reviewed for clarity, usefulness, and accuracy and may be updated when improvements are needed.