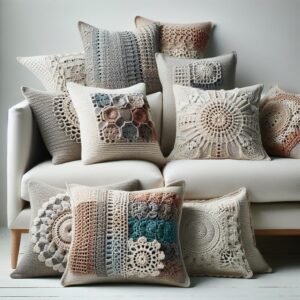
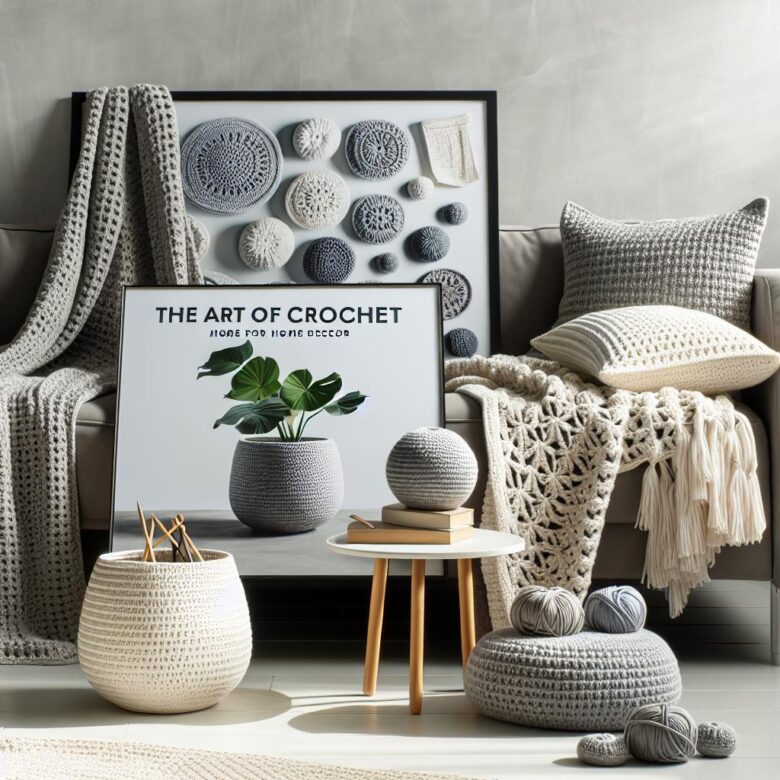
Modern crochet home decor is less about using one particular stitch and more about making the fabric suit the room. A crisp cushion needs controlled stretch, a throw needs comfortable drape, and a wall hanging needs enough structure to remain square. Color, scale, and finishing then determine whether the pieces feel connected to the surrounding furniture.
The three project recipes below are gauge-based rather than tied to one yarn or sofa size. You can adapt them to your own cushion insert, preferred throw dimensions, or wall space without guessing at stitch counts.
Plan the Piece Around the Room
Begin with the intended location and function. This prevents a beautiful swatch from becoming a finished item that is too small, too heavy, or difficult to maintain.
- For a cushion cover: Measure the actual insert instead of relying only on its label. Decide whether the cover must be removable and washable.
- For a throw: Decide whether it will be a lap blanket, a decorative sofa layer, or a full-use blanket. Each purpose calls for a different size and weight.
- For a wall hanging: Tape a paper rectangle to the wall before crocheting. View it from the doorway and from the main seating position to judge the scale.
A restrained palette is usually easier to integrate than several unrelated colors. Choose one main color already present in the room, one supporting neutral, and an optional accent taken from an existing object such as artwork, a rug, or a lamp. The accent does not have to occupy a fixed percentage of the crochet; it simply needs enough repetition to look deliberate.
Always place the yarn in the room before committing. Daylight, warm evening lamps, wall color, and nearby wood tones can all change how a neutral appears. Digital palette tools can help organize ideas, but a physical yarn sample under the room’s actual lighting is more informative.
Choose Yarn and Stitches by Function
| Material | Useful qualities | Limitations to consider |
|---|---|---|
| Cotton | Clear stitch definition, firm fabric, and many washable options | Can become heavy in a large throw and may have less recovery than wool |
| Cotton-linen blend | Crisp texture that can soften with handling and washing | Some blends feel firm at first; care instructions vary |
| Wool or wool blend | Warmth, elasticity, and comfortable drape | May pill or felt, depending on construction and care |
| Acrylic or acrylic blend | Available in many colors and often easy to care for | Pilling and softness vary widely; direct heat can permanently alter the fabric |
| Braided cotton or polyester cord | Strong structure for baskets and sculptural accents | Heavy for blankets and potentially tiring to crochet at a tight gauge |
The hook size on the yarn label is a starting point, not a rule. Use the size that produces the fabric your project needs. A smaller hook may create a firmer cushion panel, but going too small can make the fabric rigid and difficult to work. A larger hook can improve a throw’s drape, but excessive looseness may cause snagging or stretched edges.
| Design goal | Stitches to consider | Watch for |
|---|---|---|
| Quiet, woven texture | Moss or linen stitch, single crochet | Moss stitch gauge should include both stitches and chain spaces |
| Dense, structured fabric | Waistcoat stitch, thermal stitch, tightly worked single crochet | Dense stitches use more yarn and can strain the hands if worked too tightly |
| Reversible throw texture | Lemon peel stitch, half double crochet, simple ribbing | Check both sides before adding color changes |
| Graphic colorwork | Tapestry crochet, overlay mosaic crochet, Tunisian crochet | Carried yarn can add bulk; Tunisian fabric may curl without a border or suitable stitch choice |
Swatch, Wash, and Calculate the Stitch Count
Make a swatch large enough to show several complete stitch repeats. Measure it, care for it as you intend to care for the finished item, let it dry fully, and measure again. This reveals changes in drape, width, height, texture, and color before the full project is underway.
Calculate the starting stitch count from the finished swatch:
Target width × stitches in the gauge sample ÷ gauge-sample width = required stitches
For example, if a washed swatch has 16 stitches across 4 inches and the target width is 20 inches:
20 × 16 ÷ 4 = 80 stitches
Round the result to a number that fits the stitch-pattern multiple. If the pattern requires an even stitch count, 80 works. If it requires a multiple of six, adjust to the nearest suitable number and recalculate the resulting width.
Measure row gauge as well when matching a cushion insert or charted design. For throws, it is often practical to crochet until the desired length is reached, provided enough matching yarn is available.
You can also use a dry swatch to estimate yarn. Weigh the swatch, compare its area with the total fabric area of the project, and multiply accordingly. Include cushion backs, borders, seams, and colorwork in the estimate, then obtain enough yarn from the same dye lot when color consistency matters.
Pattern 1: Minimalist Color-Block Cushion Cover
This removable envelope cover uses single crochet for a stable surface and simple rectangular panels. A narrow stripe, corner block, or broad band can introduce an accent without requiring a complicated motif.
Materials
- A cushion insert
- A smooth yarn that produces a firm but flexible swatch
- A hook selected from the washed swatch
- Stitch markers, tapestry needle, and scissors
Front panel
- Use the gauge formula to calculate the stitches needed for the insert’s width. Chain one more than that number.
- Work one single crochet in the second chain from the hook and in every chain across.
- For each following row, chain one without counting it as a stitch, turn, and single crochet across. Count the stitches periodically so the sides remain straight.
- Continue until the panel matches the insert’s height after blocking.
For a color block, change yarn at the end of a row. On the last stitch before the change, draw up a loop with the old color, then complete the stitch with the new color. This places the new color at the start of the next row. Cut and weave in the old yarn rather than carrying it through a wide section, where it could show or create a ridge.
Envelope back and assembly
- Make two back panels the same width as the front. Each should be long enough to overlap securely at the center; roughly two-thirds of the cushion height per panel is a useful starting point, but slippery or stretchy fabric may need more overlap.
- Block all three panels to the planned measurements before seaming.
- Place the front panel right side up. Position the back panels on top with their right sides facing the front and their finished inner edges overlapping.
- Whipstitch or mattress-stitch around the four outer edges. Keep the seam tension even so the corners do not draw inward.
- Turn the cover right side out, ease out the corners without stretching them, and add the insert.
If the cover sags after insertion, the fabric may be too loose or the finished dimensions may be too large. A fabric lining can improve stability, but it will not fully correct an oversized crochet shell.
Pattern 2: Reversible Lemon Peel Throw
Lemon peel stitch alternates single and double crochet. It creates an all-over texture without a strongly defined front or back, making it practical for a throw that will be folded in different ways.
- Choose the desired width and calculate an even number of stitches from the washed swatch.
- Chain one more than the required stitch count. If the foundation chain tends to tighten, make only the chain with a slightly larger hook, then return to the swatch hook.
- Row 1: Single crochet in the second chain from the hook, double crochet in the next chain, then repeat single crochet and double crochet across. The row should end with a double crochet.
- Row 2: Chain one without counting it as a stitch and turn. Single crochet in the first stitch, double crochet in the next, and repeat across.
- Repeat Row 2 until the throw reaches the intended length.
Because each row starts with single crochet and ends with double crochet, the stitches alternate over the row below: single crochet is worked into double crochet and double crochet into single crochet.
For a contemporary stripe layout, try broad sections rather than frequent narrow stripes. Another option is a solid main color with one contrasting band near each end. Change colors only at row ends for uninterrupted lines.
Add a stable border
Work a round of single crochet around the finished throw, placing three stitches in each corner. Distribute stitches evenly along the row ends rather than forcing one rigid spacing rule. If the border waves, it contains too many stitches; if the edge pulls inward, it needs more. Correct the first round before adding further rounds.
Pattern 3: Geometric Tapestry Wall Hanging
A wall hanging is a good place for bold geometry because it does not need the softness or flexibility of a blanket. Smooth cotton or a cotton-linen blend helps the edges and color changes remain visible.
Create the chart
- Draw a rectangle on graph paper or in a crochet charting tool. Let each square represent one single crochet stitch.
- Begin with a simple shape such as an offset rectangle, stepped arch, triangle, or wide chevron. Two colors are easier to manage than several small color sections.
- Count the chart width. Chain that number plus one, then single crochet in the second chain from the hook and across.
- Chain one without counting it as a stitch, turn, and follow the chart row by row. Read in one direction on right-side rows and the opposite direction on wrong-side rows.
Carry the unused color only across short sections where it will remain hidden inside the stitches. For large blocks, use separate yarn bobbins and join the colors at the boundary. Long carried strands add thickness and may show through a light background.
To reduce gaps at a color change, bring the new color under the old color before completing the stitch. Keep both yarns relaxed; pulling the inactive yarn too tightly can narrow the panel or make it twist.
Block and hang the panel
Block the completed panel according to the yarn label, using a ruler or blocking grid to align the sides. Add evenly spaced crocheted loops along the top edge or sew a casing that fits a smooth dowel. Check that the loops are equal in length so the top edge hangs level.
Use wall hardware appropriate for the hanging’s weight and the wall material. Keep hanging cords and loose fringe out of reach of young children and pets, and do not position yarn decor close to open flames, hot fixtures, or other heat sources.
Finishing Details That Improve the Result
- Keep edges consistent: Use stitch markers at the first and last stitch if accidental increases or decreases are common.
- Weave in ends without lumps: Guide each tail through several nearby stitches and change direction where the yarn permits. Avoid pulling tightly enough to gather the fabric.
- Use fiber-appropriate blocking: Follow the yarn’s care label. Never press a hot iron directly onto crochet. Heat can flatten texture or permanently change synthetic fibers.
- Choose practical closures: Envelope backs avoid separate hardware. A zipper can create a slimmer opening but should be sewn to a stable edge so the crochet does not stretch away from it.
- Keep floats covered: A fabric backing can hide yarn carries on wall panels and help a cushion retain its shape.
Style Crochet Without Overloading the Room
Let one crochet item act as the main textured piece, then repeat one of its colors elsewhere rather than adding several competing stitch patterns. For example, a textured throw can be paired with a smooth linen cushion in the throw’s accent color. A geometric wall hanging can echo the neutral used in a nearby crochet basket without repeating the same motif.
Crochet also benefits from contrast with smoother materials. Wood, matte metal, leather, glass, and plain woven fabric give the stitches a quieter background. There is no need to replace the room’s existing finishes; use them to guide yarn color and texture.
Evaluate the arrangement from normal viewing distance rather than only from beside the sofa. A quick photograph can reveal whether an accent is isolated, a wall hanging is undersized, or several textured pieces are competing for attention.
Troubleshooting Common Problems
| Problem | Likely cause | Adjustment |
|---|---|---|
| Panel becomes wider or narrower | Missed edge stitches, accidental increases, or changing tension | Mark both edge stitches, count regularly, and compare the work with the swatch |
| Cushion cover stretches and sags | Loose gauge, highly elastic stitch, or oversized panels | Use a firmer swatch, stabilize with lining, or recalculate for a closer fit |
| Throw border ripples | Too many stitches around the edge | Remove the border and work fewer, more evenly spaced stitches |
| Wall panel pulls at color changes | Carried yarn is too tight | Spread the active stitches along the hook before tightening the carried yarn |
| Colors look muddy from across the room | The yarns have very similar light and dark values | View a grayscale photo of the yarns and replace one with a lighter or darker value |
| Surface pills quickly | Fiber construction is not suited to repeated abrasion | Use the yarn for a low-contact piece or choose a smoother, more tightly spun alternative |
A Practical Order of Work
- Measure the insert, furniture, or wall location.
- Choose the project’s function and care requirements.
- Select a main color, supporting neutral, and optional accent from the room.
- Make and wash a swatch in the intended yarn and stitch.
- Calculate the stitch count and confirm any pattern multiple.
- Crochet while checking stitch count, width, and color placement.
- Block, seam, line, or border the piece as needed.
- Place it in the room and evaluate the scale and balance from normal viewing distance.
Careful measuring and swatching are more important than chasing a particular trend. When the yarn suits the function, the dimensions suit the furniture, and the finishing is controlled, simple crochet stitches can produce clean and useful living-room decor.

The Cozy Stitch Editorial Team creates practical crochet guides for beginners and everyday makers. Our content covers stitches, yarn and hook selection, pattern reading, troubleshooting, amigurumi, handmade gifts, and functional projects for the home. Guides are reviewed for clarity, usefulness, and accuracy and may be updated when improvements are needed.